
5 Basic Prepping Tips for Interior Painting in 2022

Who knows what prepping for an interior painting project even involves? Home Depot tells you one thing, Lowe’s tells you another, but we’re here to give you professional advise that actually works!
We’ll tell you right now, proper preparation of your interior painting spaces is the most overlooked aspect of a project by the majority of homeowners, yet the most important step in the process. Preparation of all the spaces and surfaces in a project more often than not takes more time than the painting itself. As a matter of fact, interior painting preparation typically takes up 50-75% of the project! When considering any interior painting project, follow these basic prepping tips for interior painting to ensure the professional results that we guarantee on every job.
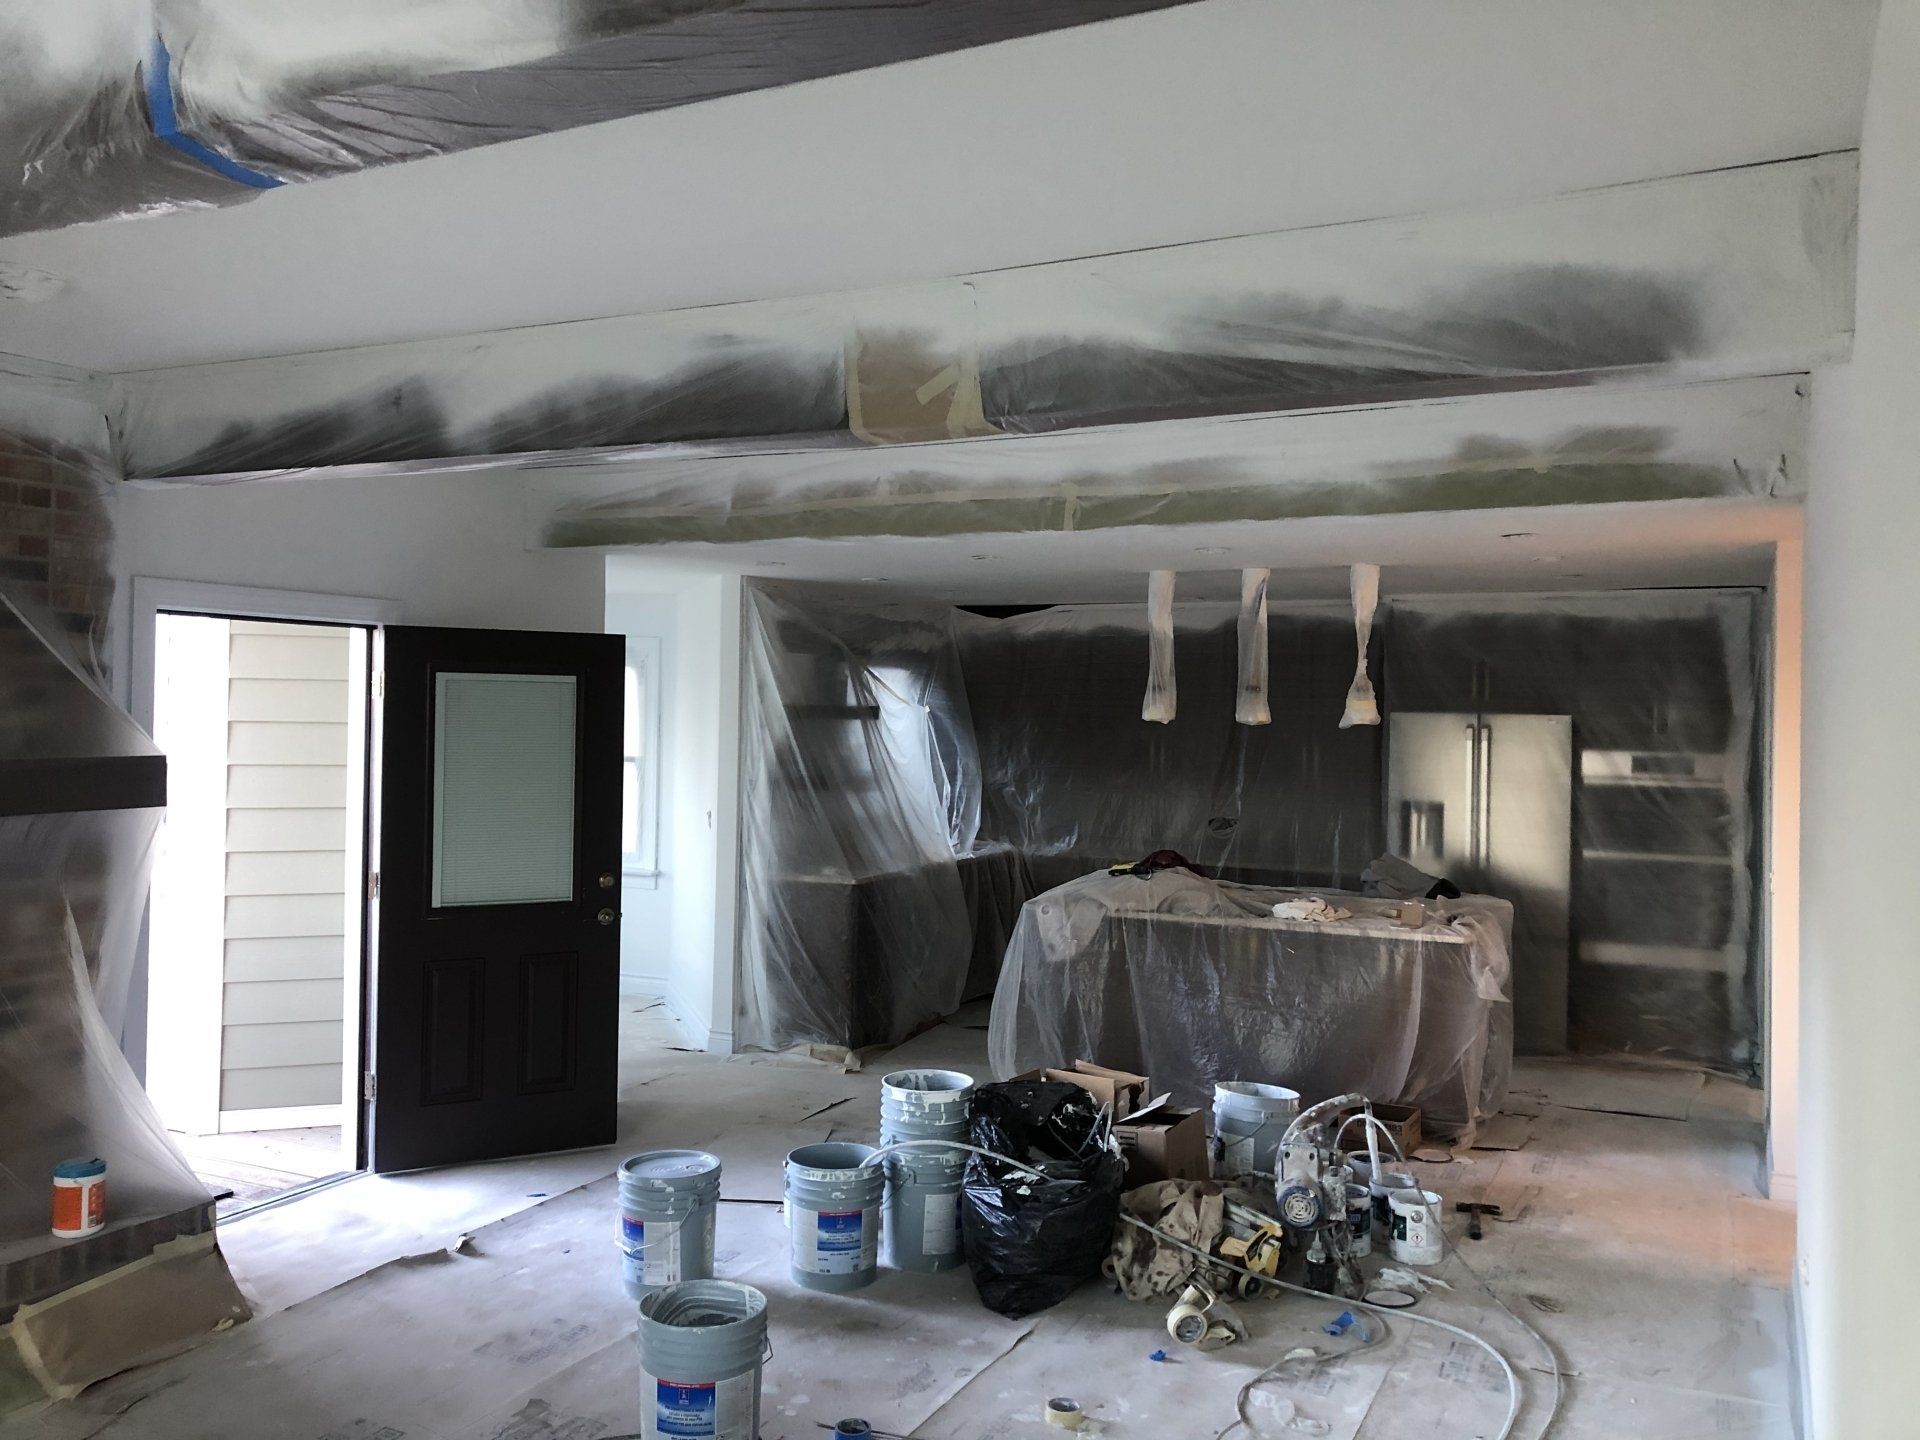
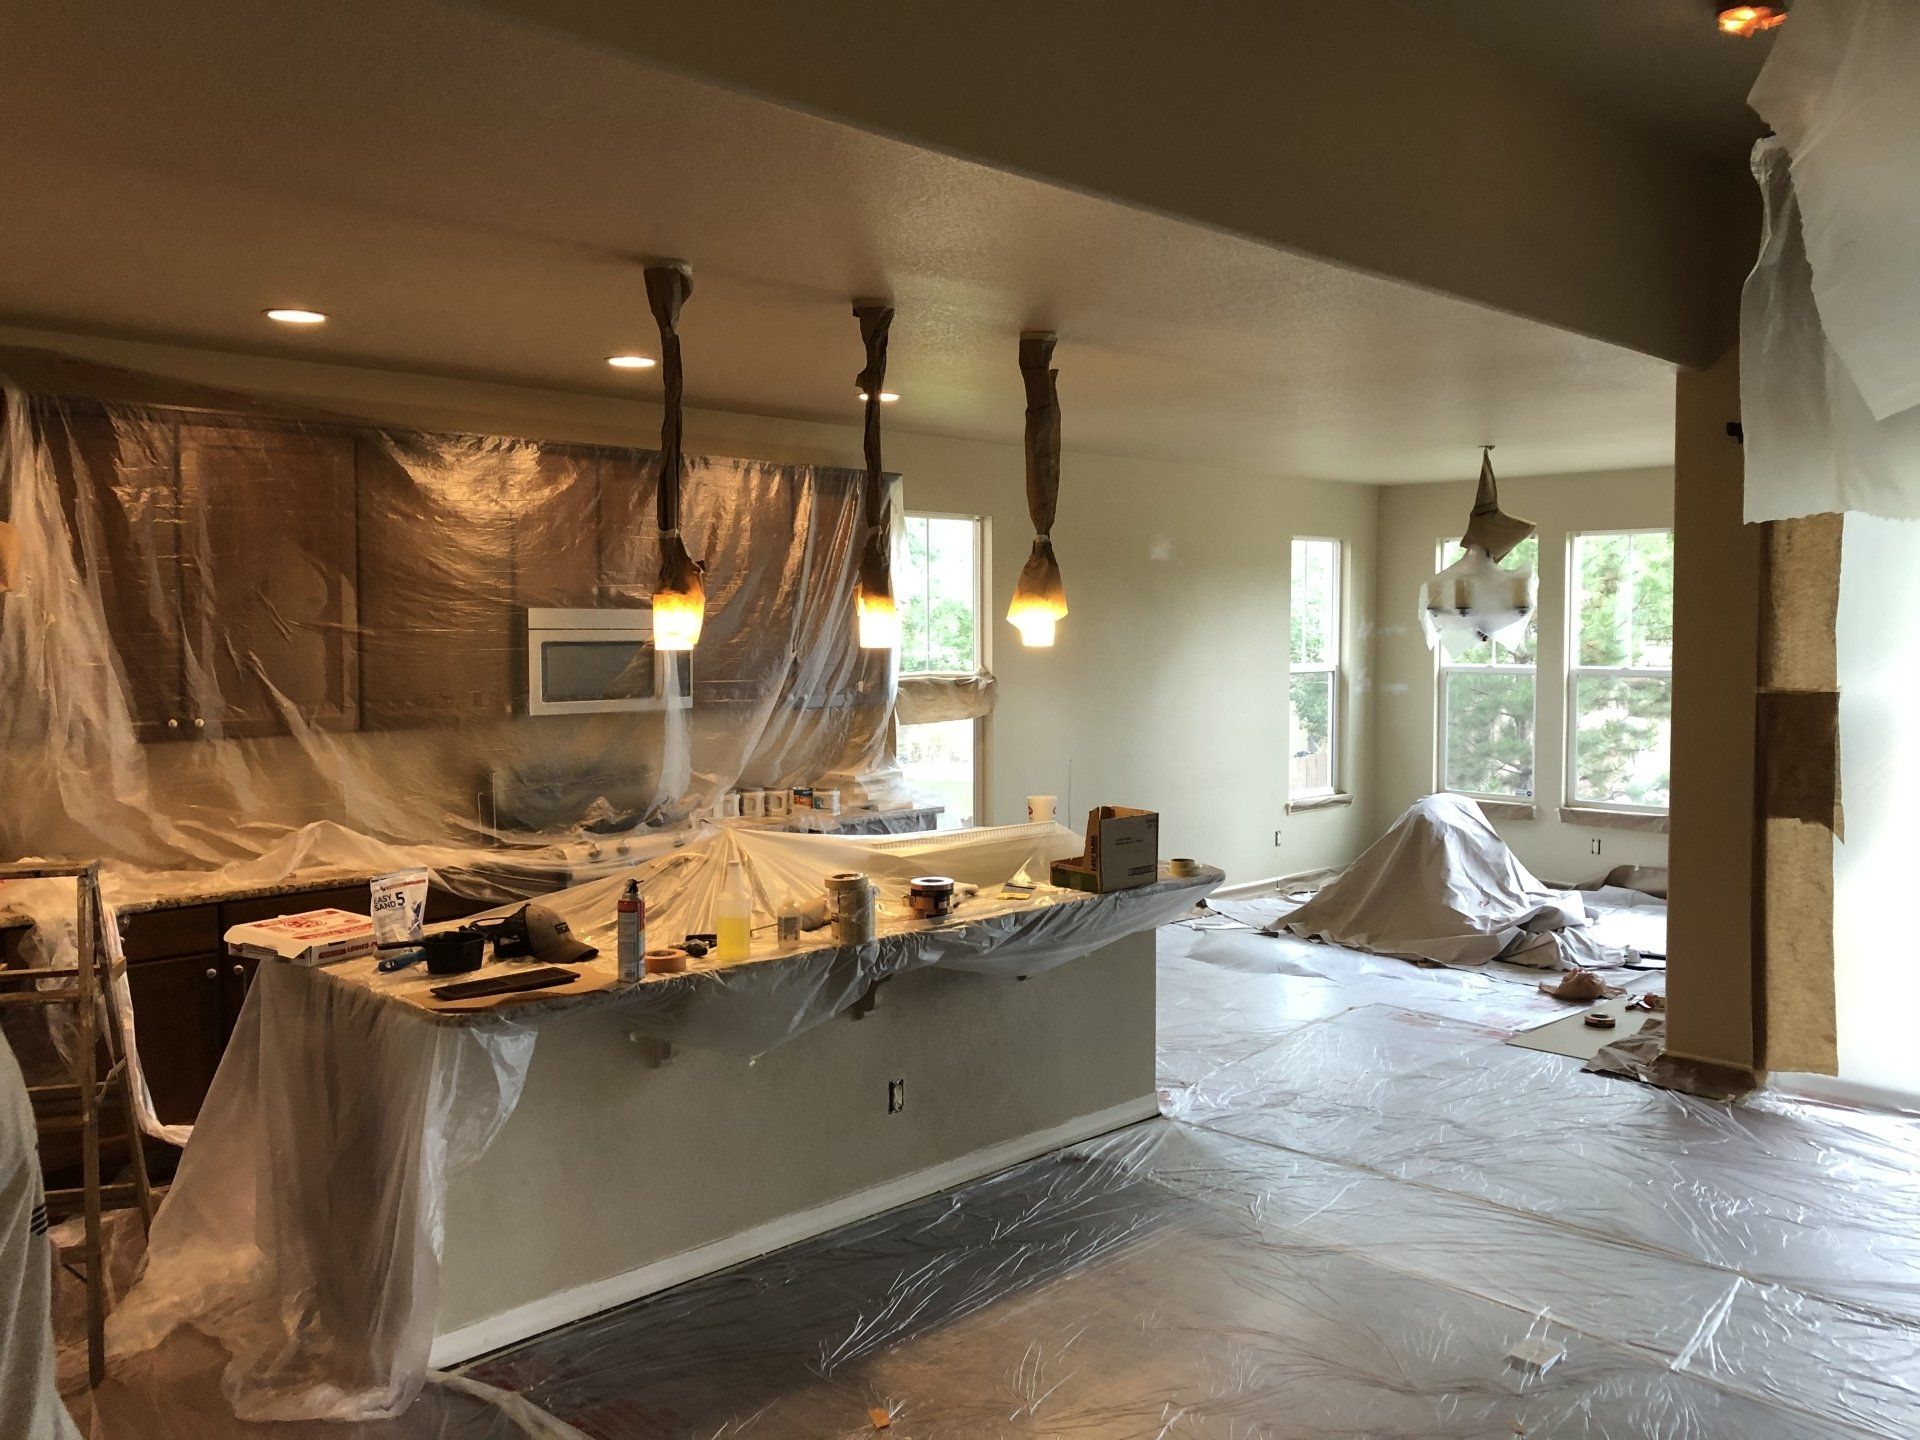
1. Remove or move furniture
No brainer, right? Well, most homeowners overlook this step by far. The room should be as empty as possible, and if that’s not an option then everything should be moved to the center of the room. If that is not a possibility, professional painting companies typically can do it for you, but at a cost.
Furniture needs to be moved around, especially smaller items, to create a safe and clean working space for the project at hand. With items and furniture being left around the room there is a potential for unwanted messes to occur, and no one wants to replace carpet or expensive furniture.
While spilling a can of paint isn’t life-threatening, slips and falls can be severe, especially on tall ladders. Accessibility is of the utmost importance so nobody trips, falls, or spills paint! Pets should also be kept out of your workspace. While skunks might be cute, it is never prudent to give your cat or your brown lab a white stripe on its back.
2. Remove hanging items
This step coincides with the first one. All wall hangings as well as blinds should be placed with the furniture in the center of the room or moved out completely for aforementioned reasons. Blind casings should be removed and taped to the coinciding blinds to avoid confusion during remount.
Nails can be left in place if items will be rehung once the project is complete. Nail holes larger than a pinhole should be filled with a small amount of spackle and the excess wiped with a wet rag to avoid giant blotches of spackle on the walls. This will make orange peel textured and level 4 finished drywall areas look horrible. Who wants that if you’re trying to avoid paying thousands more to not hire a painting company in the first place?
3. Remove switch plates and vent covers
This is one of the most overlooked tips for interior painting that really separates a professional result from a DIYer. You always start with a blank canvas. Some homeowners want their vent coverings to match their surroundings, but never the switch plates! Grab a box a put all those switch plates along with their screws together. If you’re not painting the vent coverings then put them wherever you want, just out of the workspace. When you reinstall the switch plates make sure you align all those screws to either the 12 o’clock position or the 3 o’clock position. This creates uniformity.
4. Clean surfaces
Walls, baseboards, door casings, and doors all collect dust of some sort over time. Kitchen and bathroom walls and ceilings are especially prone to collecting grease or grime. This all needs to be cleaned beforehand to ensure proper adhesion of paint and primer products.
Dawn dish soap works miracles, but if that doesn’t do the trick, try some good old TSP or tri-sodium phosphate. It’s an industrial cleaner that comes in powder form to be diluted with water; it works much better than many other cleaners. Rinse the wall or ceiling with clean, warm, not hot, water after giving them a light scrub so as to not deteriorate the texture or drywall. This is also where you find out if the previous paint was good enough to withstand such cleaning. Make sure you consistently change out the water during the cleaning process as well.
One thing to note, any residue left from Dawn, TSP or any other cleaning product could react with the paint and ultimately destroy your project if you do not know how to remedy chemical interactions. Make sure to do all of this in a well-ventilated space and always, always, always wait until the surfaces are dry before applying your paint and primer products.
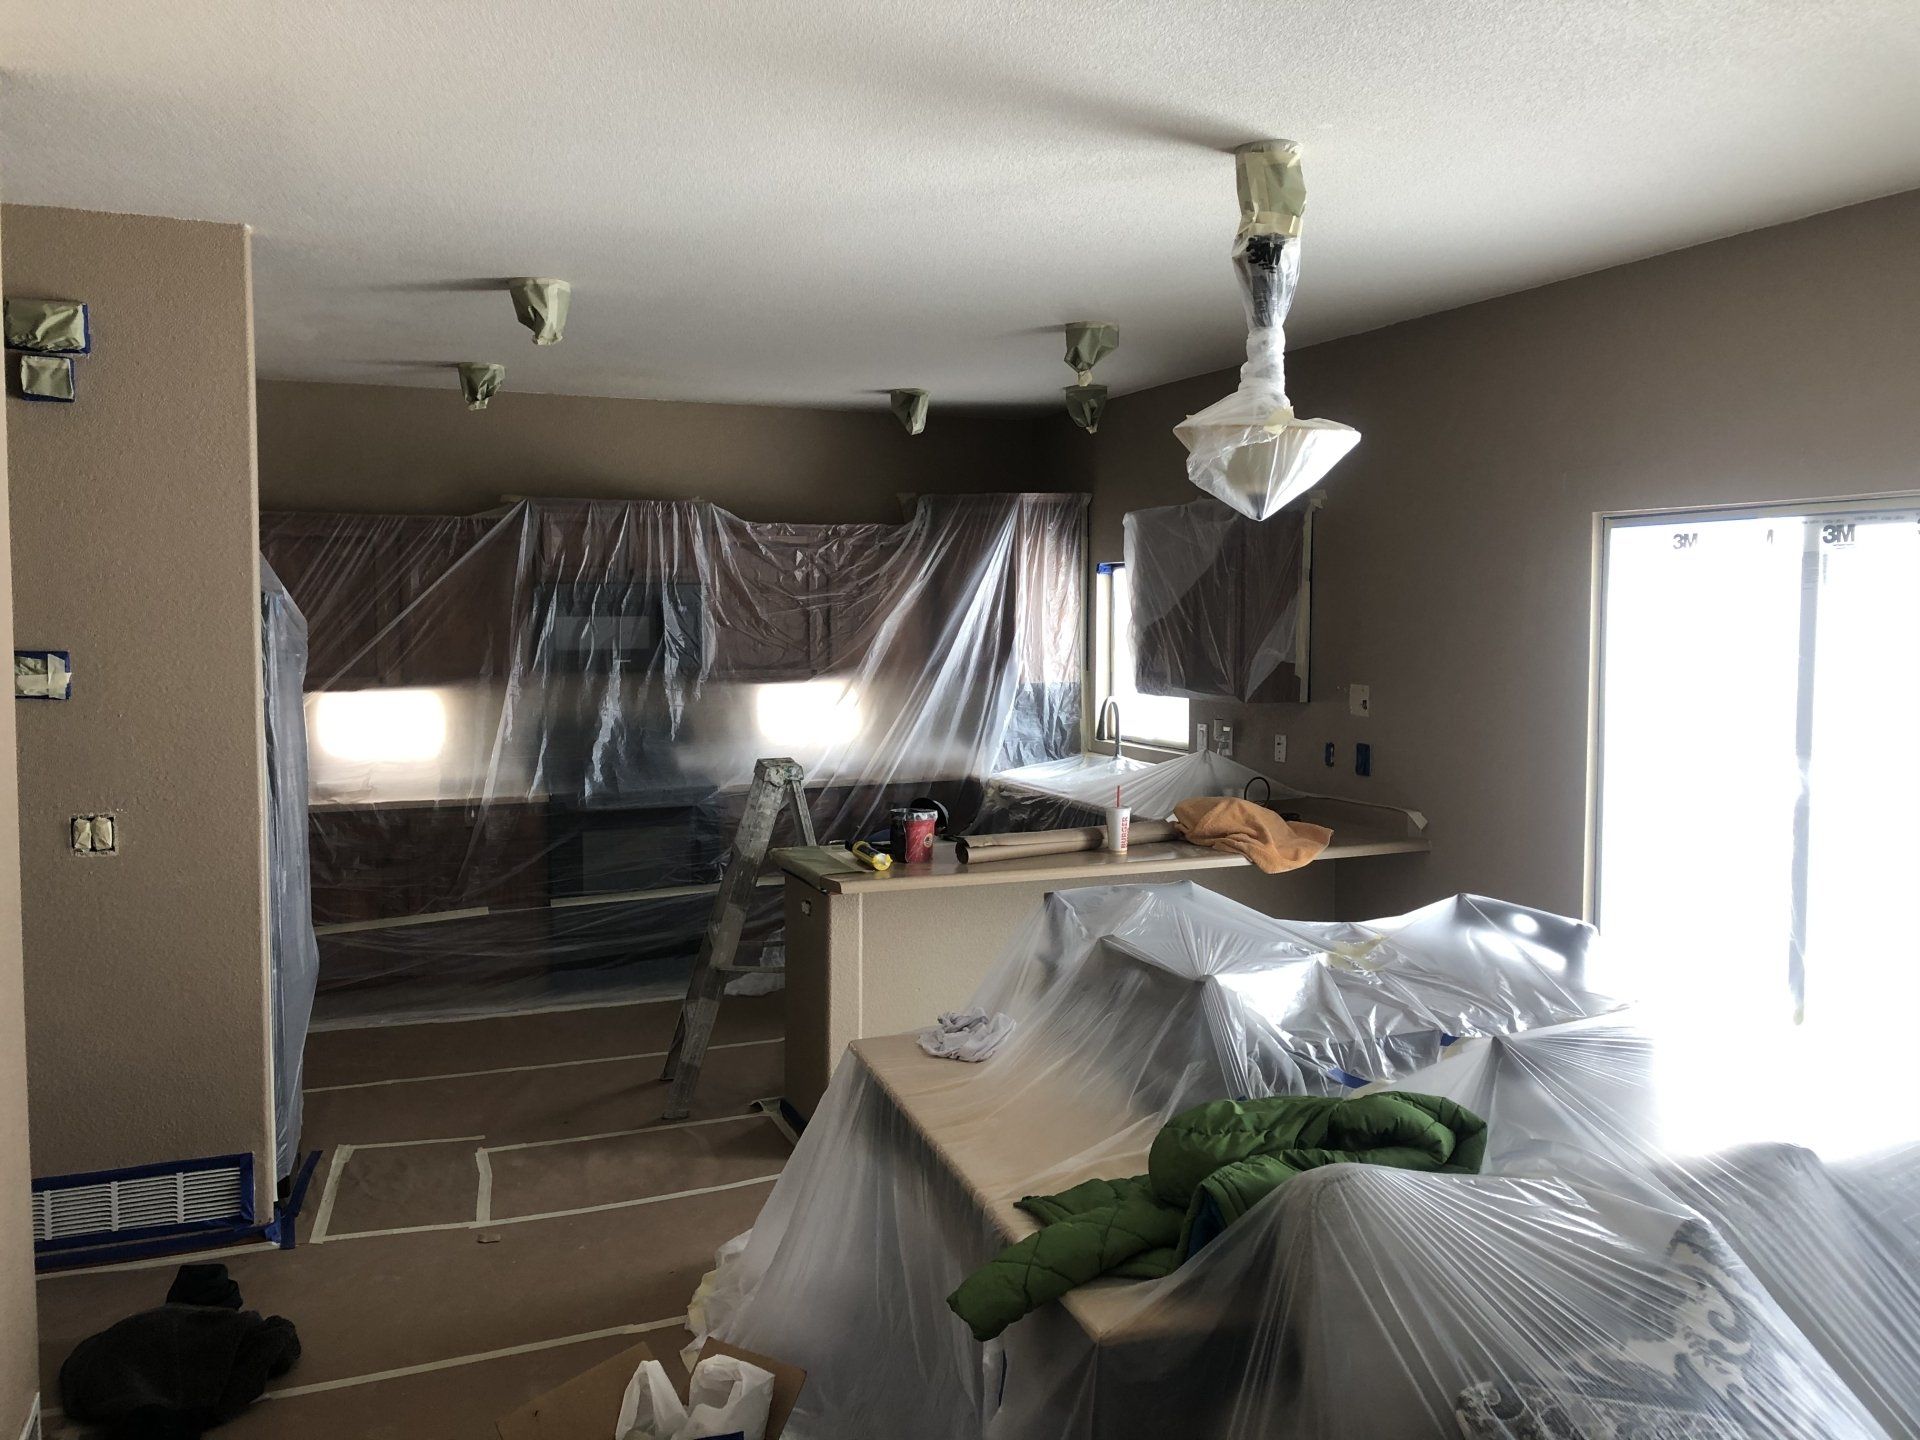
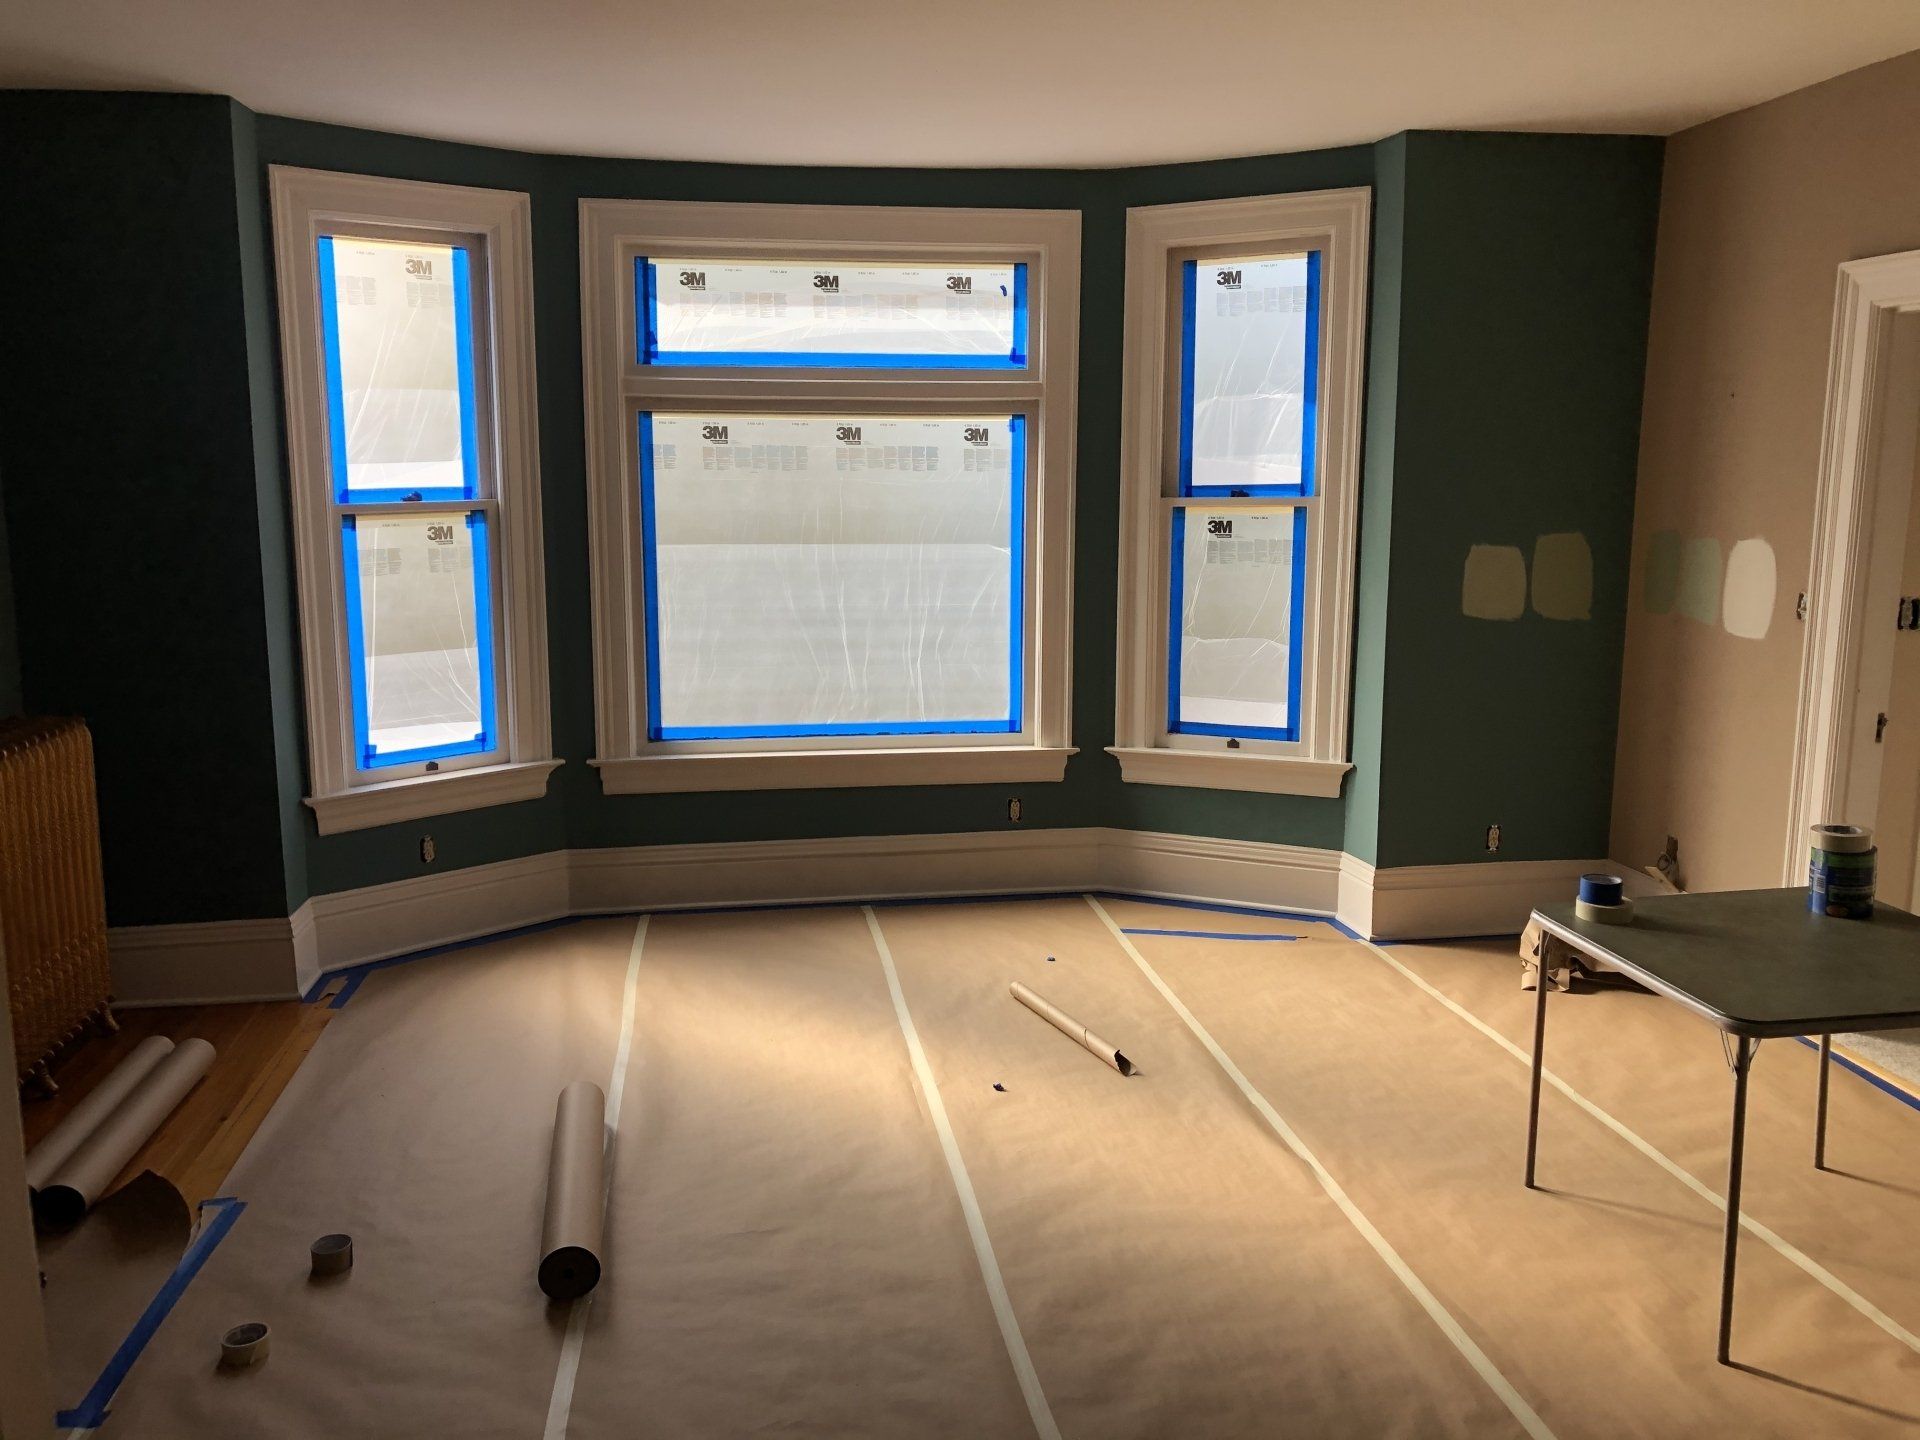
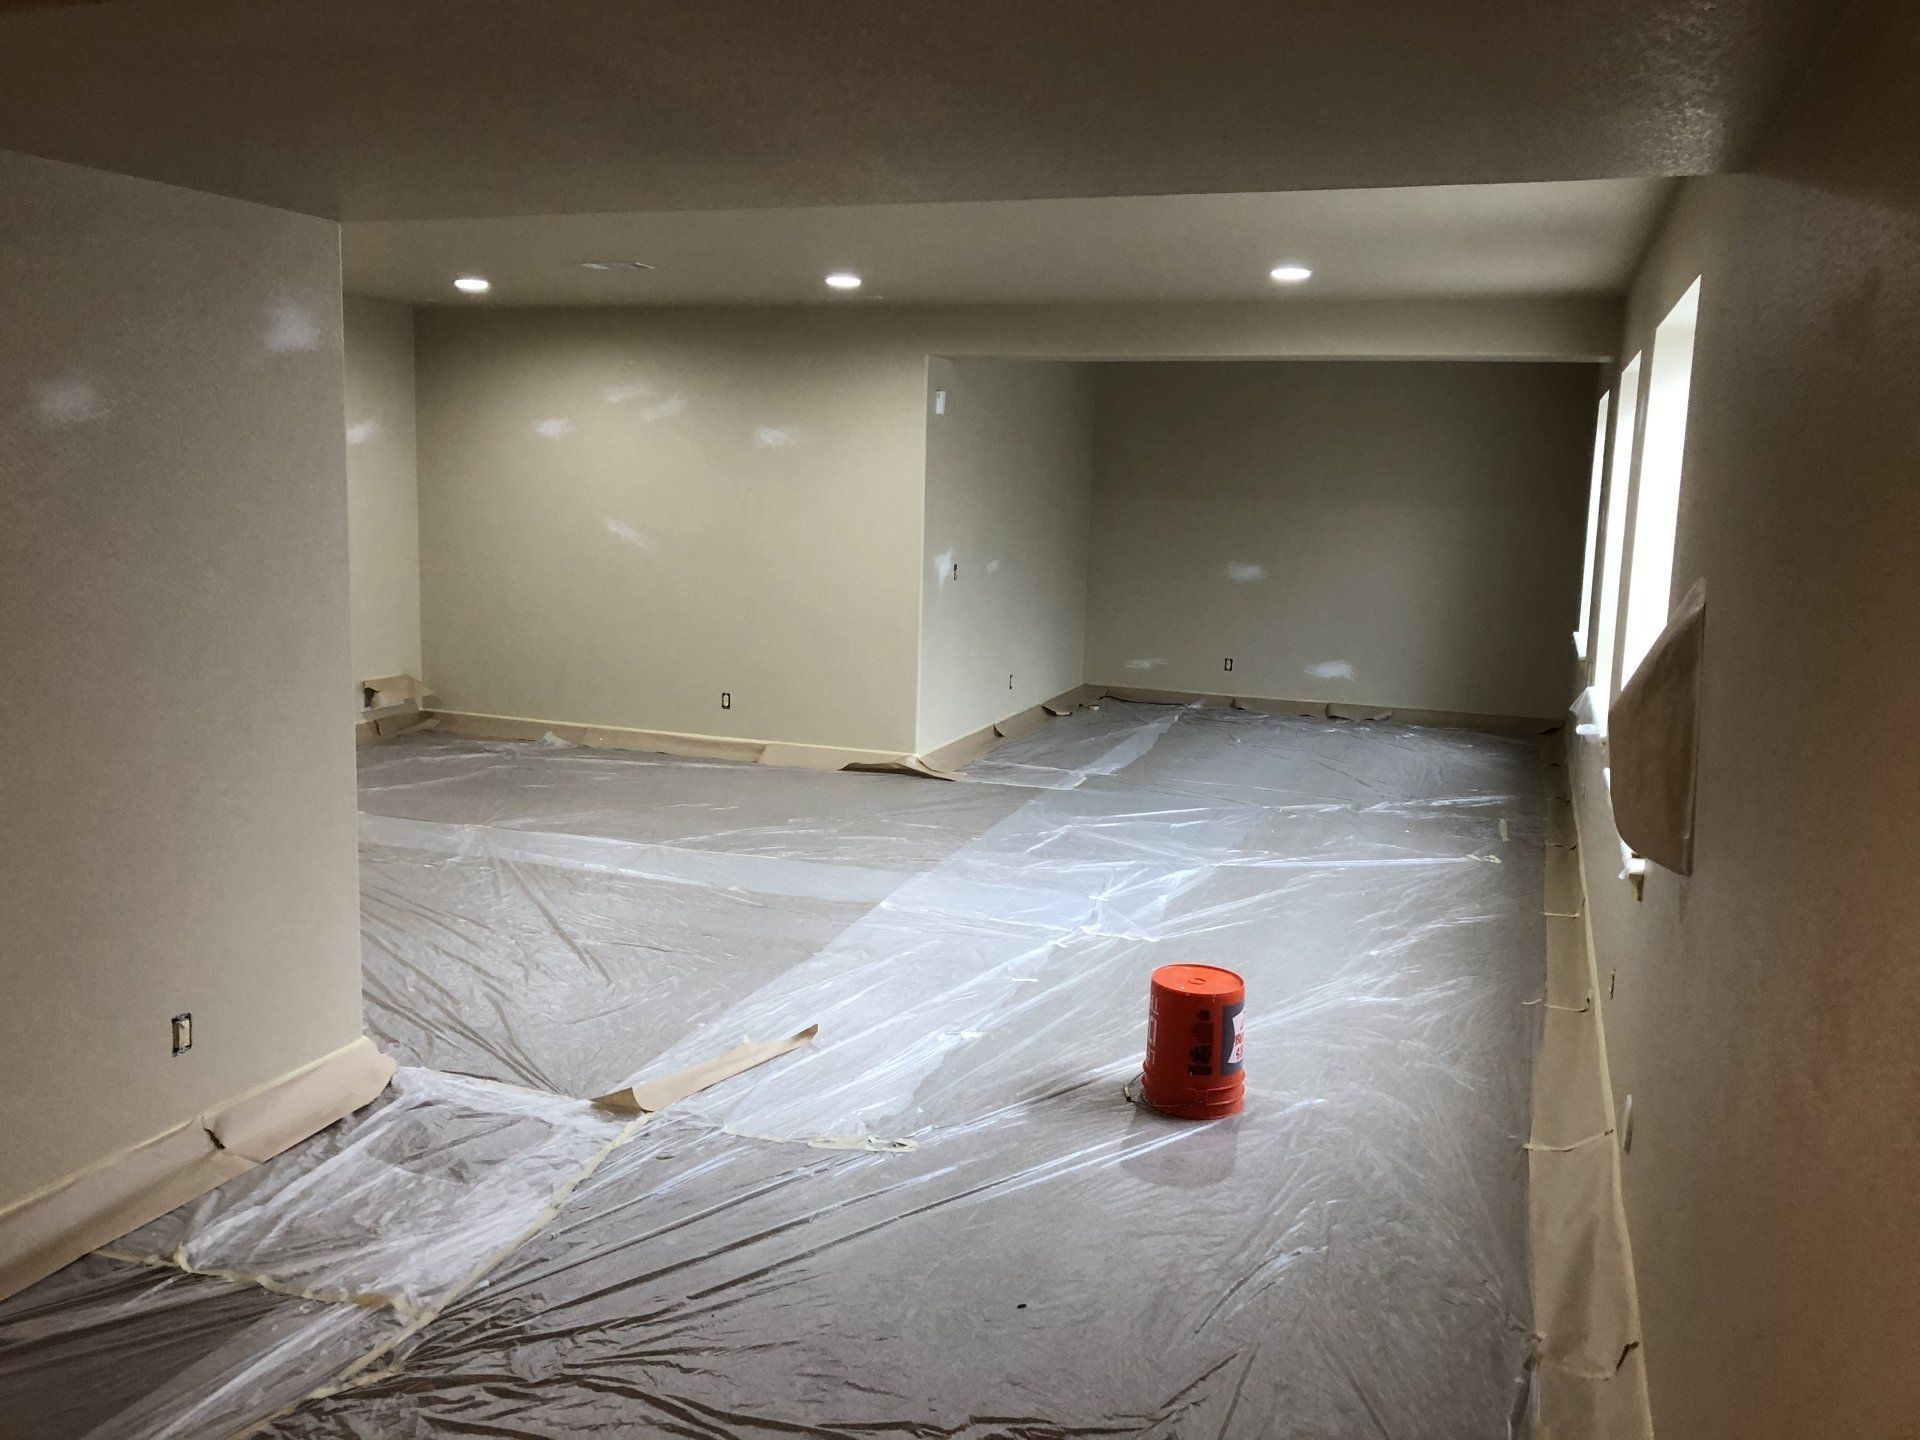
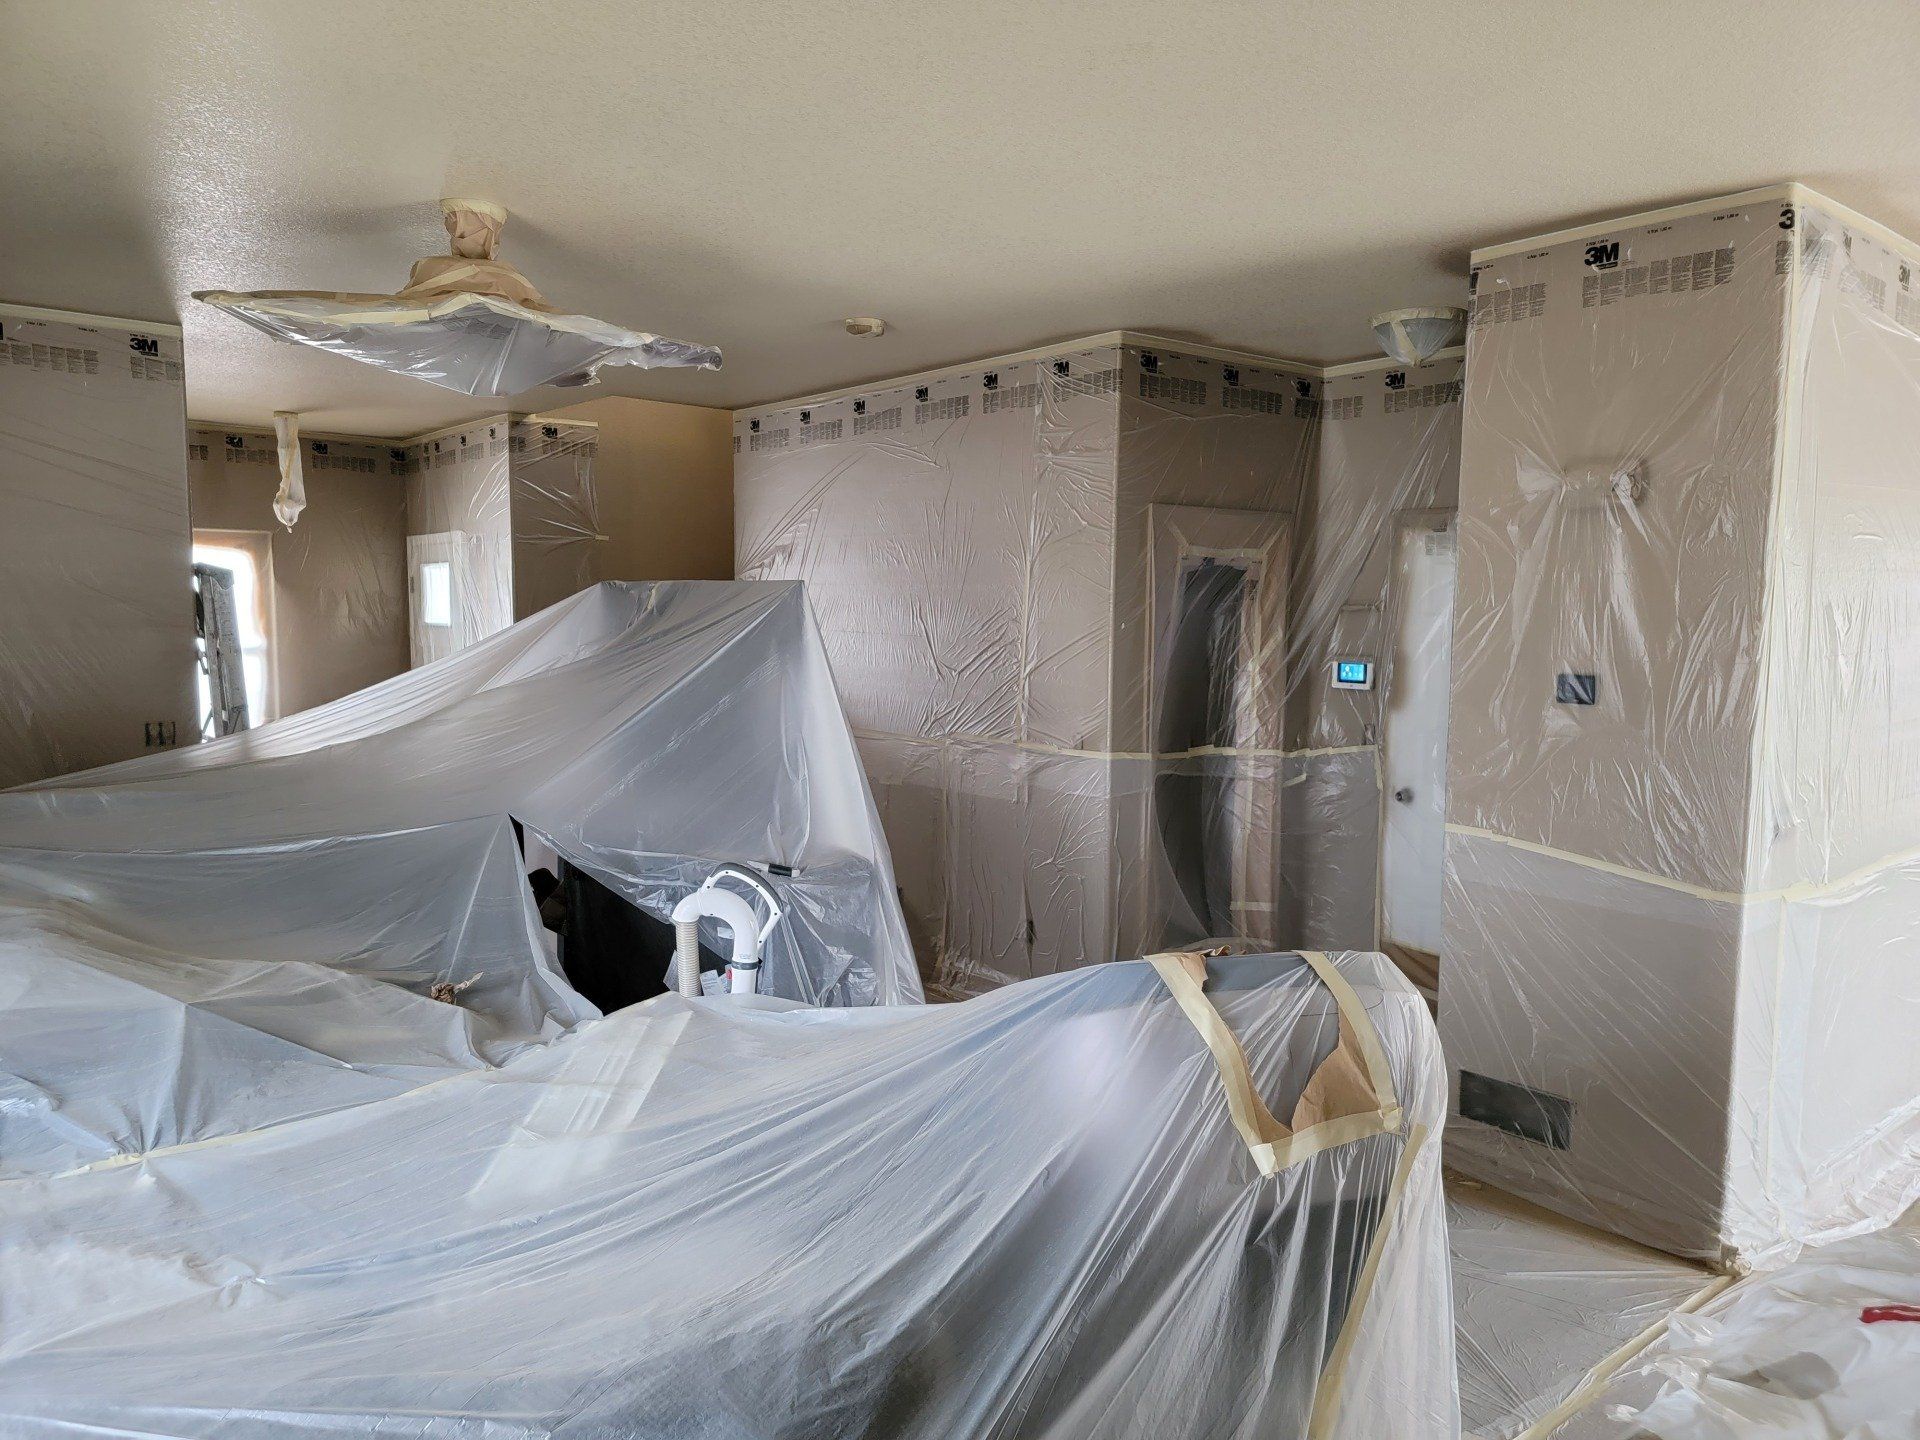
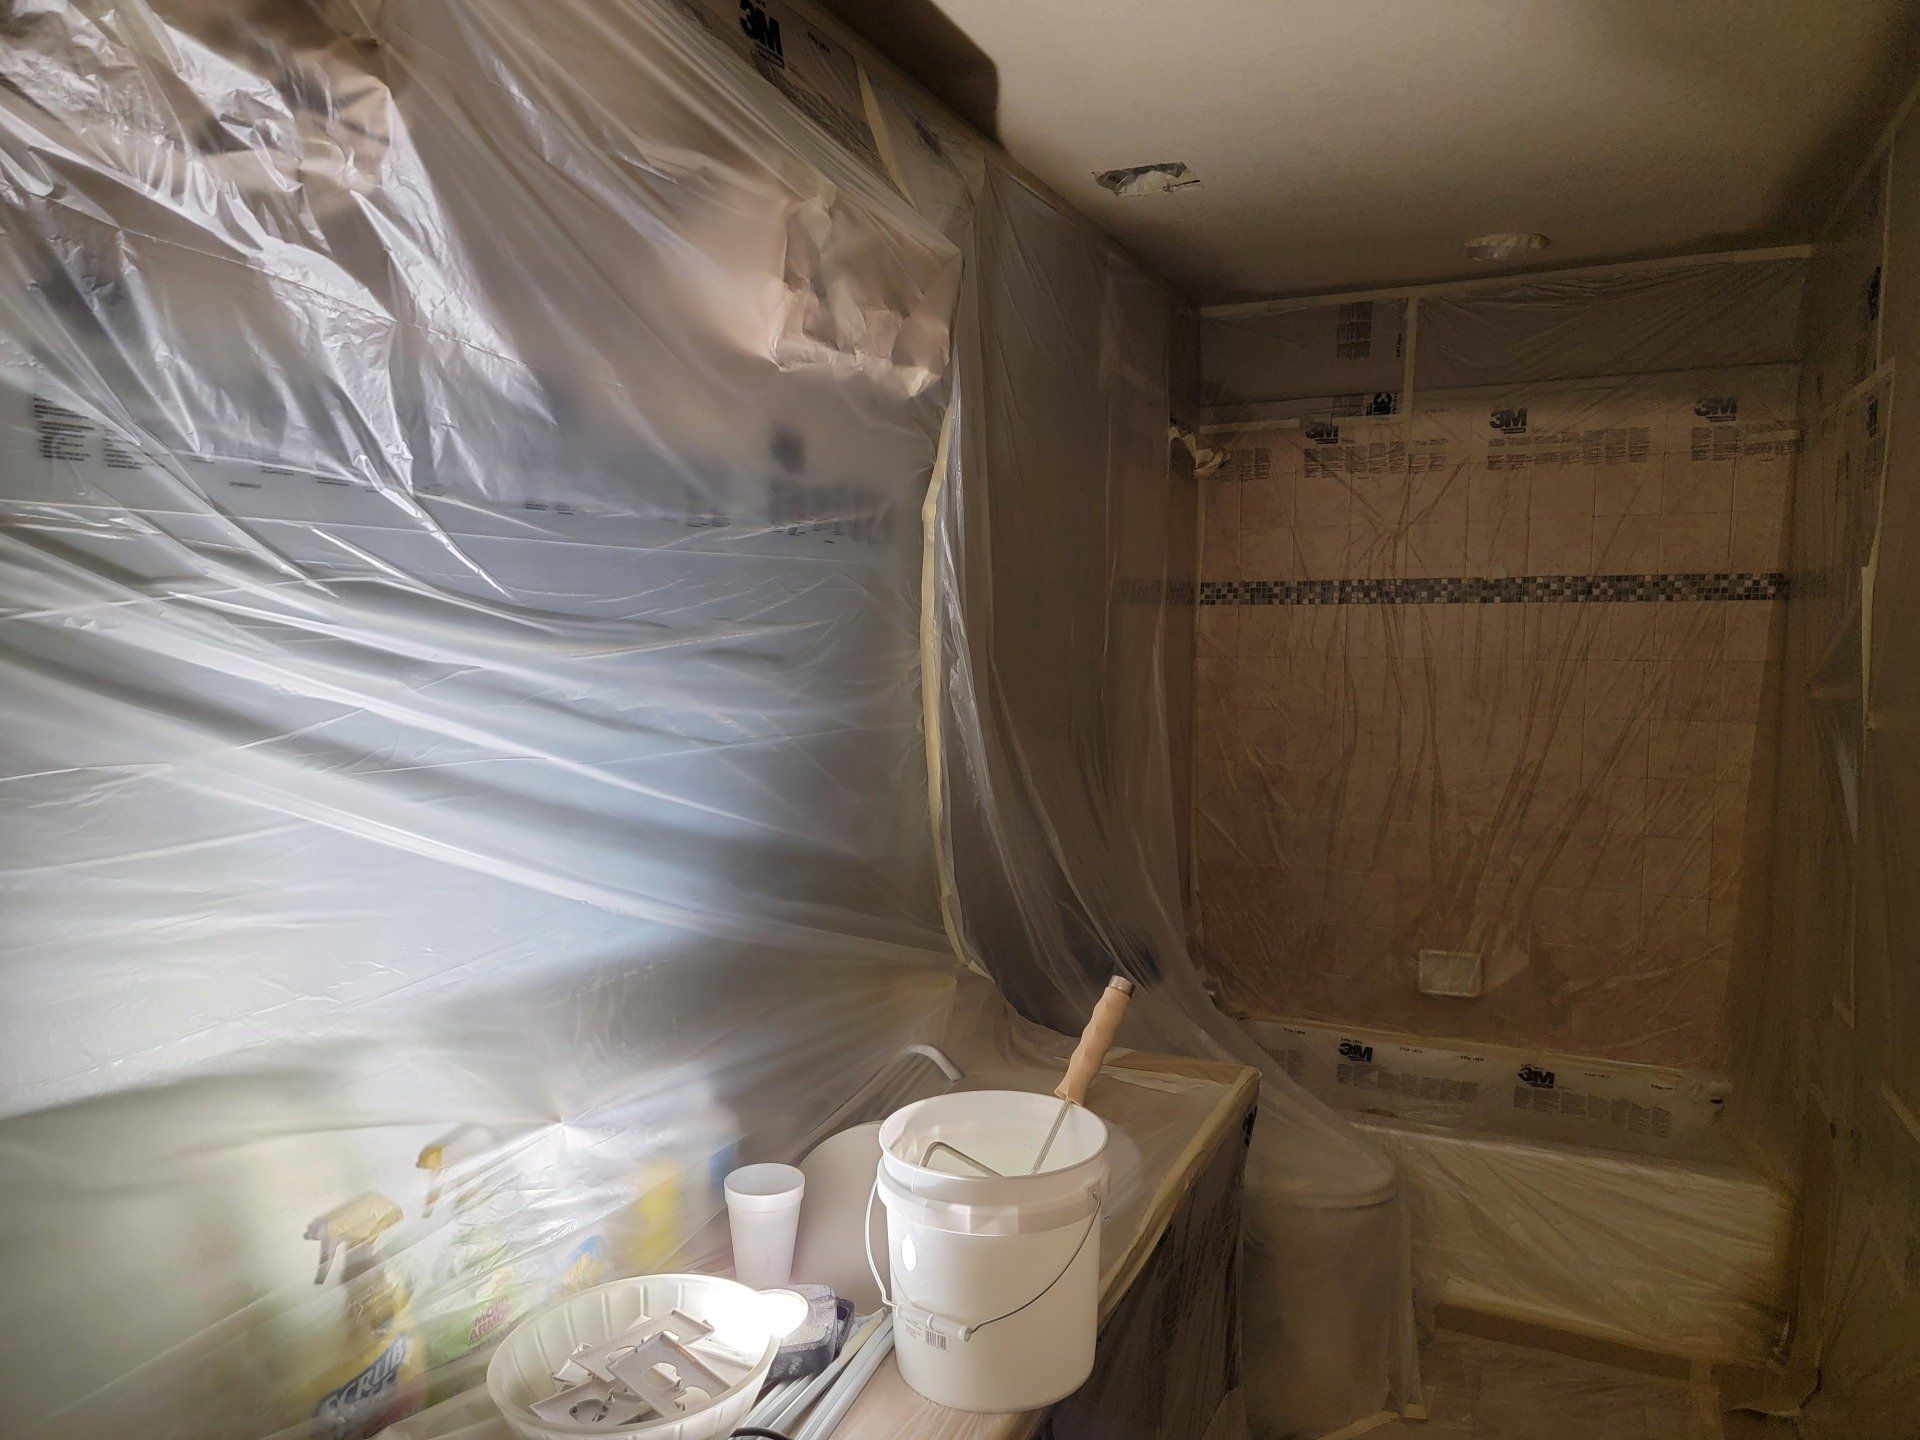
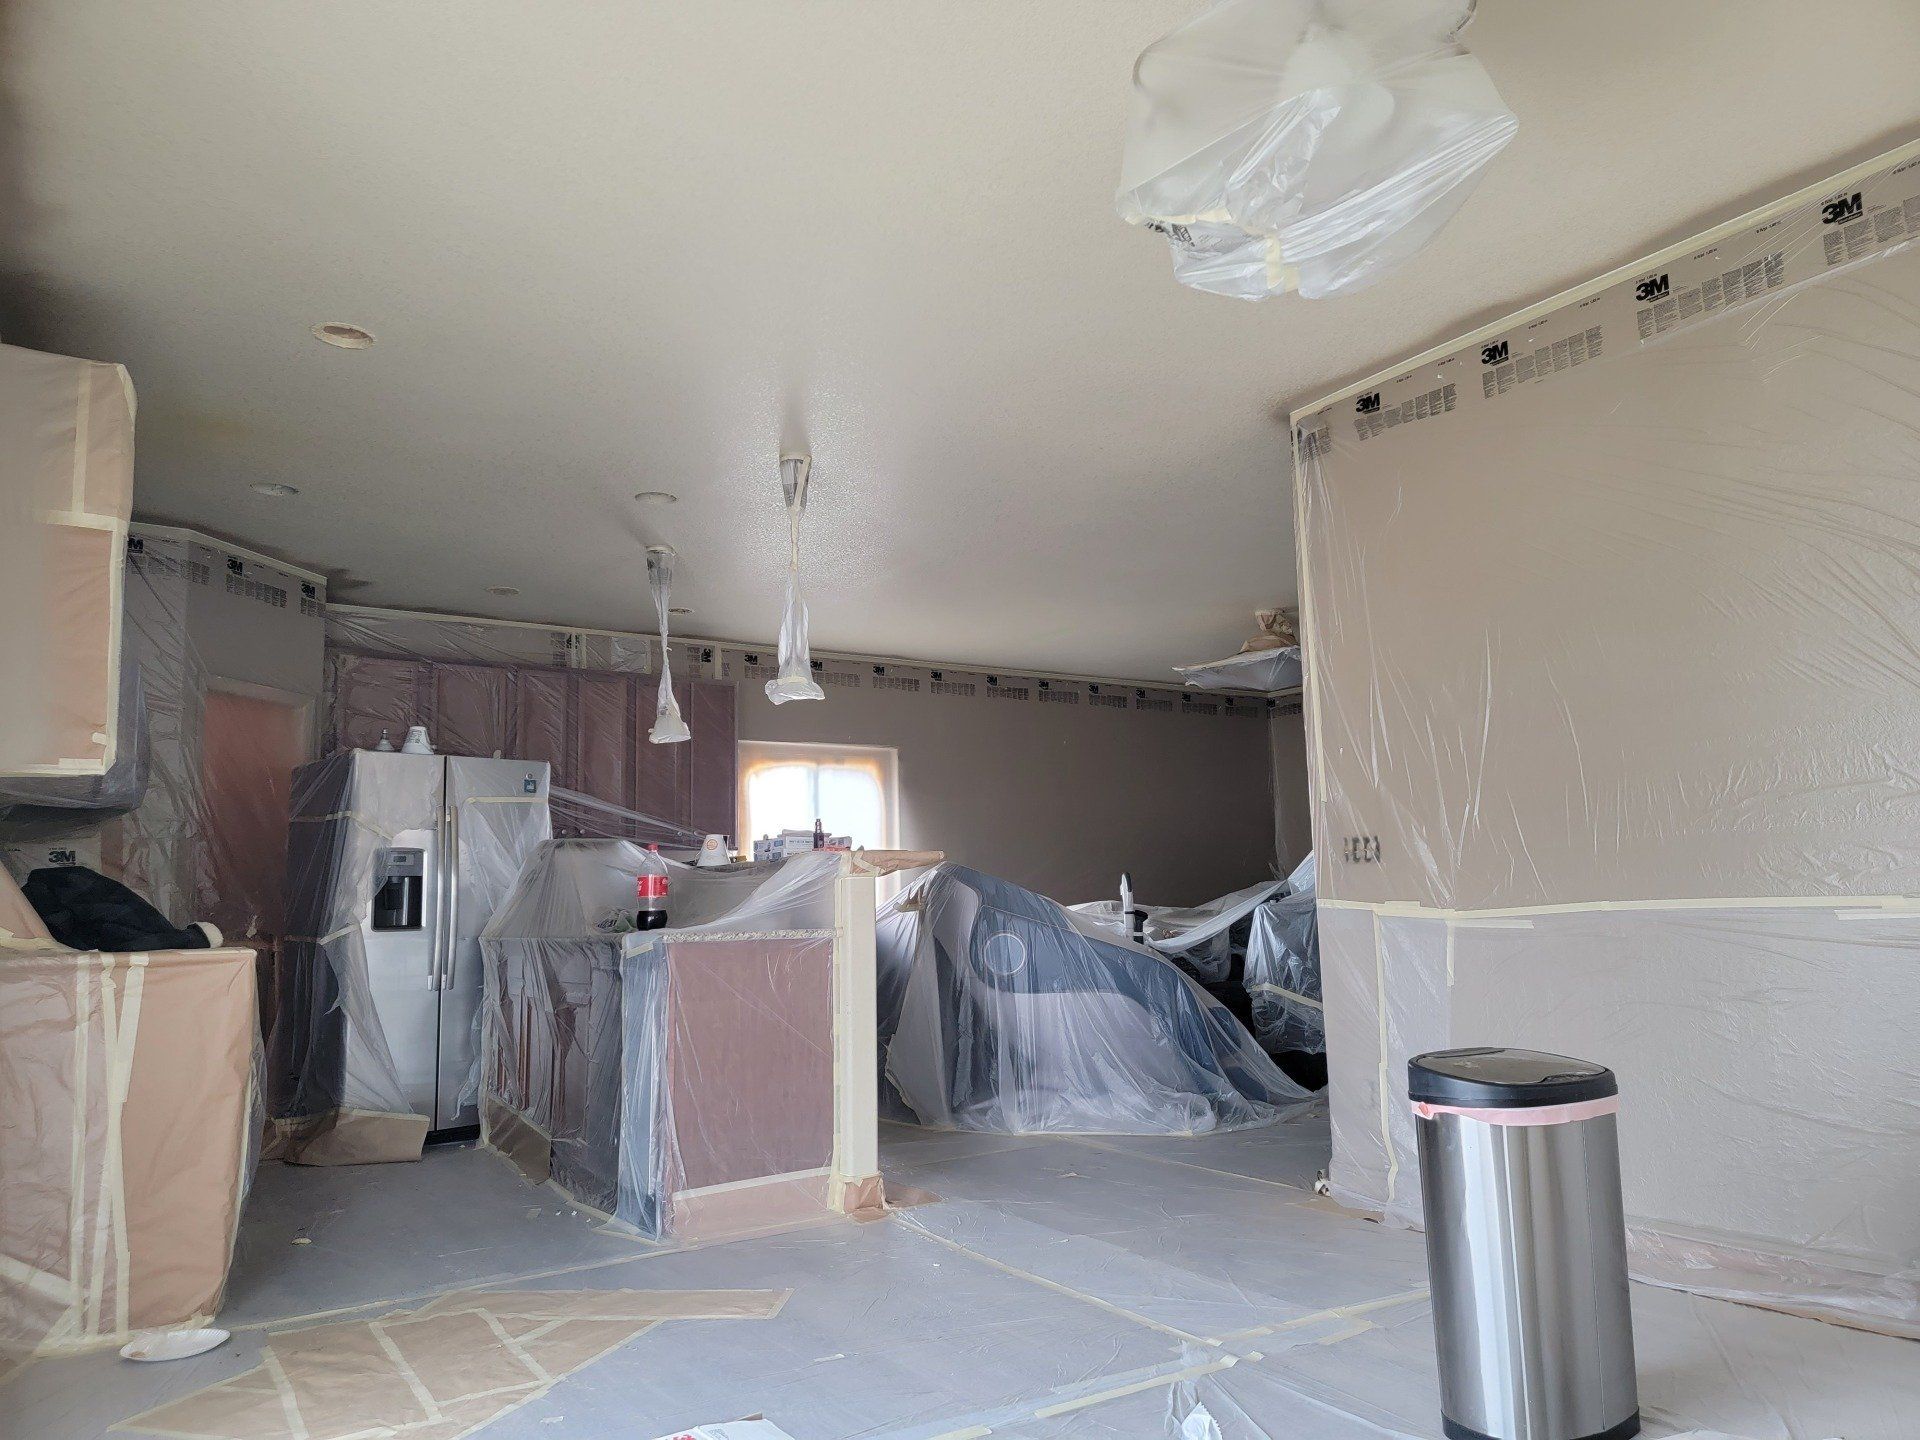
5. Masking and covering
Are you excited yet? Well, masking is going to be your most arduous task throughout the process, and this is why. In a professional painting company, this is where all the beginners start their painting career. Adequate and efficient masking is definitely a skill in itself. This is the step where everything in the project area needs to be covered to avoid unwanted complications or messes. This is all done with tape, paper, plastic, and various drop clothes.
A skilled professional will know what size of paper, plastic, and drop cloths to use for the job at hand. Also, not all tape is created equal, and one should definitely do some research before applying certain types of tape to different surfaces. Blue painter's tape, which is the most commonly advertised tape for painting projects is only good for one or two things. We could have an entire discussion on different types of tape and when to use them, but this article is not for that conversation, so it is highly recommended to do research before selecting an adequate tape for your project.
If you need more than just tips for interior painting, call Front Range Painters and schedule a free consultation!
Let Front Range Painters become your preferred Colorado Springs home painter and give you the results your home deserves when you need quality interior painting. We provide both interior and exterior painting as well as refinishing services in order to accommodate mid to large-sized projects.
Locally owned, Front Range Painters enhances and protects your investment with unparalleled standards. With our expert product knowledge and workmanship guarantee, we educate our homeowners on the most appropriate products that lead to better longevity and durability of your project in the long term.
We don’t just paint, we are your paint and design solution!